So, I was given a bit of grief today (nicely) by a co-worker who has followed my blog a bit. "When are you going to post something new?" Yes I've been bad...
I have been busy though. I've actually not worked on as many projects for myself as I have for Space Lab. I have a shop space there and work on vintage gear for the store and some of my own stuff too. One day I will show some pictures of the workshop, but probably not until we get it cleaned up a bit as we have had some "issues", like a flood from a damaged sprinkler for example.
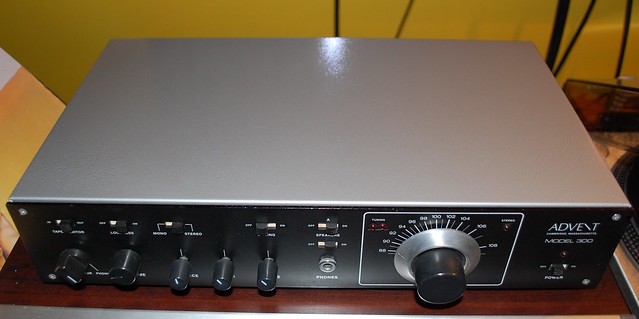
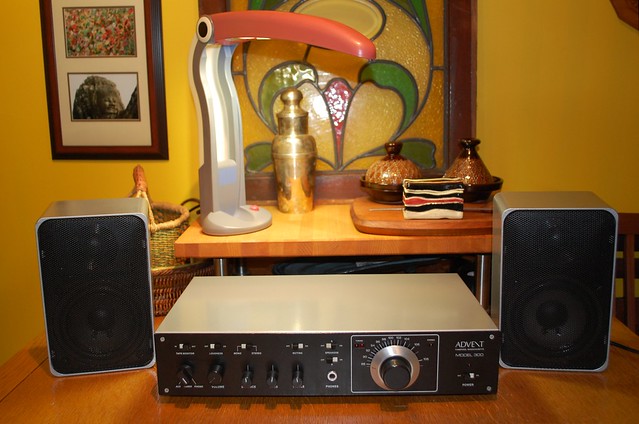
Right now I'll give a small taste of some of the things I've done in the last several months and some of the projects ahead. Here's one, a silverware chest turned into a stereo stand. It's still somewhat unfinished but fully functional as is.
The "before" pic.
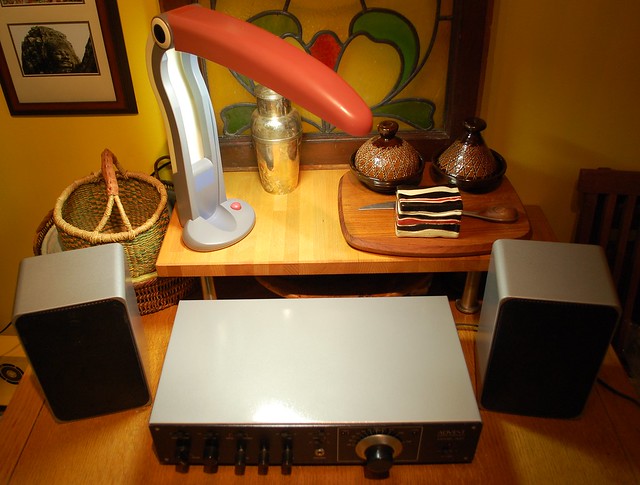
The "after" pics
I have been busy though. I've actually not worked on as many projects for myself as I have for Space Lab. I have a shop space there and work on vintage gear for the store and some of my own stuff too. One day I will show some pictures of the workshop, but probably not until we get it cleaned up a bit as we have had some "issues", like a flood from a damaged sprinkler for example.
Right now I'll give a small taste of some of the things I've done in the last several months and some of the projects ahead. Here's one, a silverware chest turned into a stereo stand. It's still somewhat unfinished but fully functional as is.
The "before" pic.
The "after" pics
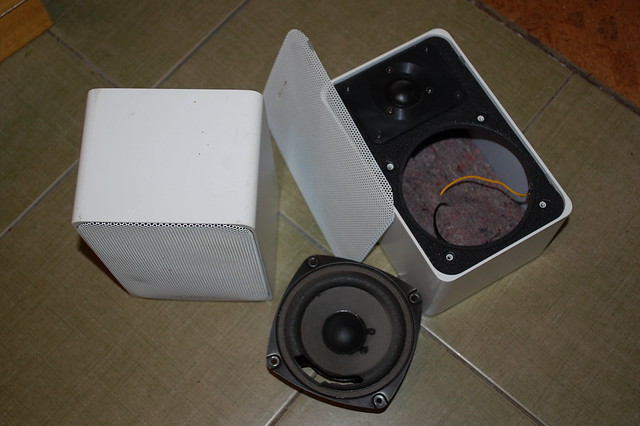
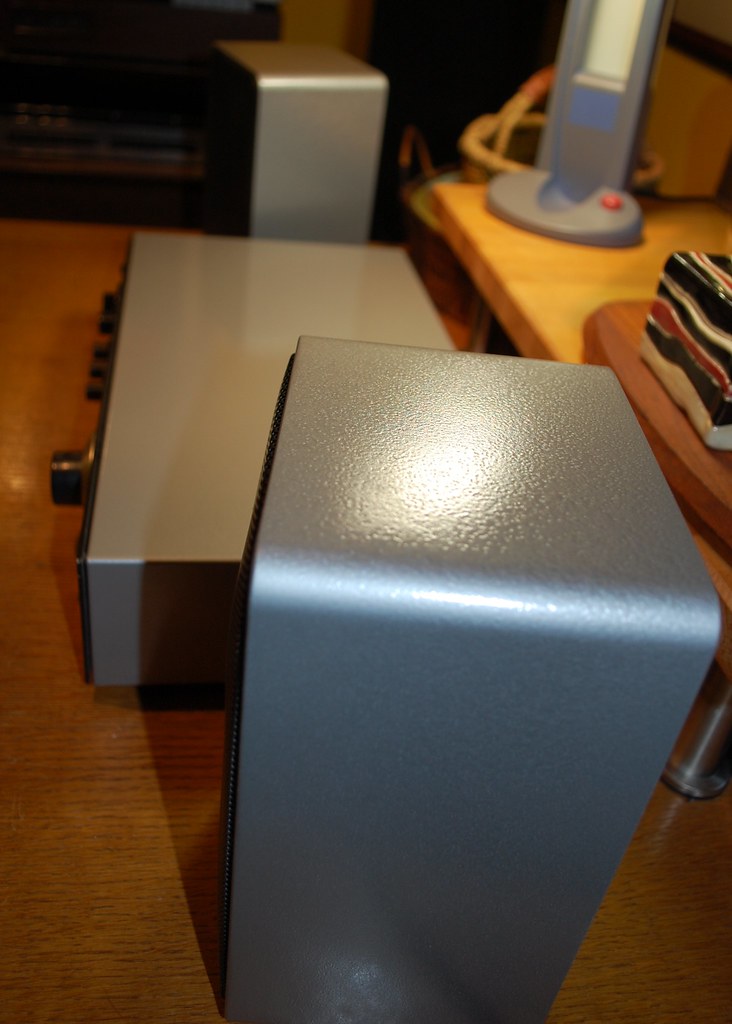
And the "in between" pics.
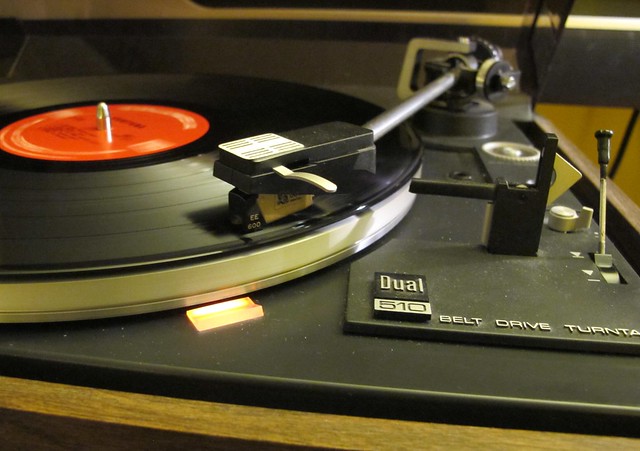
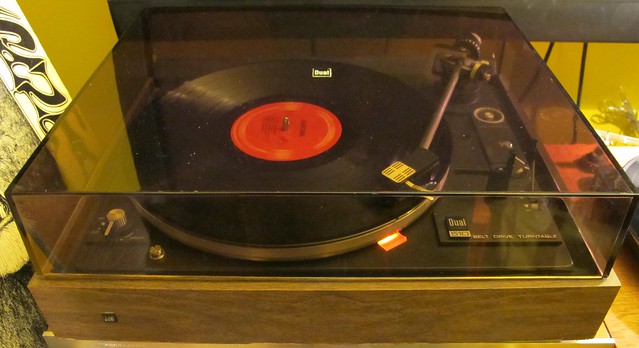
I had to modify the drawer so the wiring could drop behind it through the slot I cut in the new plywood bottom. The B&O turntable works nicely because it is such a low profile but I might lower the shelf so I can use something deeper, though will require another re-work to the drawer. I'm also thinking I could add a holder to the lid for the "now playing" selection, and a bit of trim and finishing work.
I think it looks pretty cool. But we don't have anyplace for the fancy silverware now!