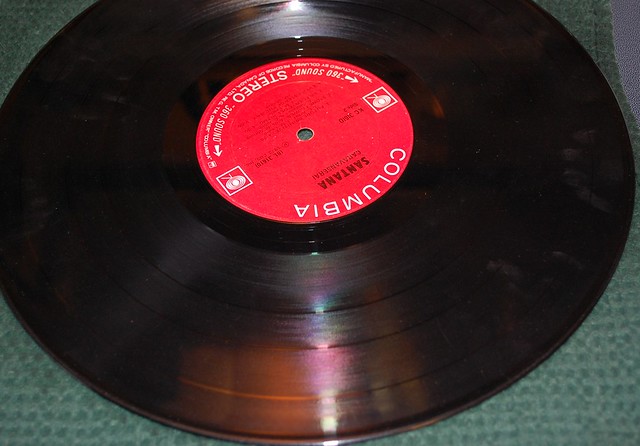
A lot of the records I buy are used and often from thrift stores like Value Village and the Salvation Army. Occasionally they come from yard sales or Craigslist. Often they are not very clean.
I really try to avoid badly scratched records, in fact I pretty much always avoid those. I can live with a few minor ones and will consider ones that are worse if it is a rare or unusual record and the price is right...like free.
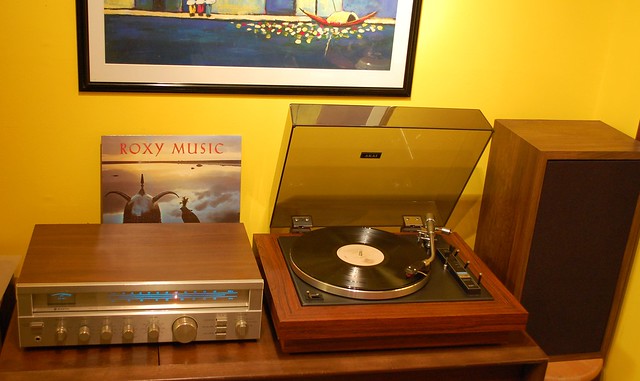
Anyway, I can't stand damaged or dirty records and I have a few ways that I can deal with that. My day to day arsenal is below:
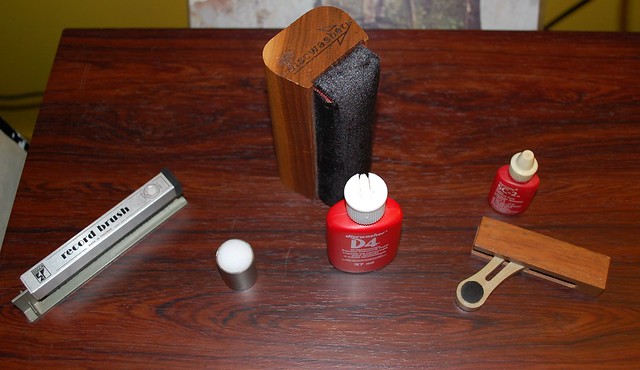
From left to right in order of how frequently I use it:
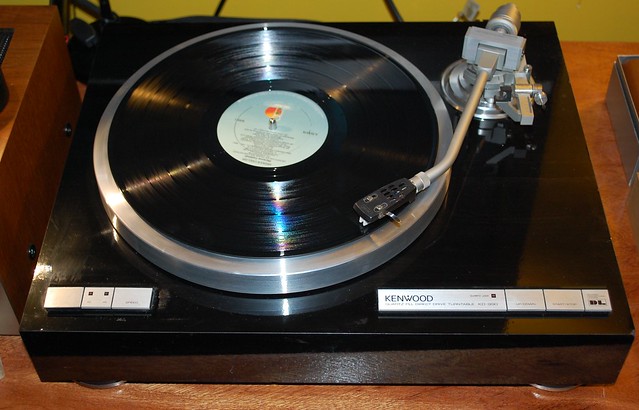
I lay a towel out on the counter top or my smooth top stove, and lay the dirty record on that. The one below is not that bad.
I give the record 5 or 6 squirts from the bottle, trying to avoid the label.

Now I take a paint pad, the kind you use for edges and corners, and use it in a circular motion to scrub the record using light pressure. The thousands of short bristles work well to work into the groves. I do this for 30 seconds or more, then flip the record and do the other side.

After washing I rinse under the tap in the kitchen sink. I have a water filter built in and there is little added to Vancouver water anyway, so I feel this is usually just fine. After rinsing both sides, I let the water run off and place the record upright in the dish drainer to dry. I will sometimes give them a wipe with a soft cloth, usually microfibre, to hasten the process.


Sometimes the label gets a bit wet, but I have not had one damaged by this yet. I know some people will make elaborate clamps to protect the label, but so far I don't see the need.
There are also those that will use devices that cost hundreds of dollars to do much the same as I do, including motorized and suction devices to pull away the washing liquid. However I can't justify that expense and feel that my method works well enough and is far superior to doing nothing or some simple "spread the dirt around" brushes that I see.
This won't take a really abused & scratched record and make it new again, but it will help with dusty, mildewed and finger print covered vinyl. I can see and hear dramatic improvements in the records I clean with my simple methods that anyone can do for a very small outlay in money and time. Not counting the Spin Clean (which cost me about $70 on sale), the paint pad method described above should cost only about $10 to 20 for the fluid, brush, and the cloth to dry the records and be enough to do many records.
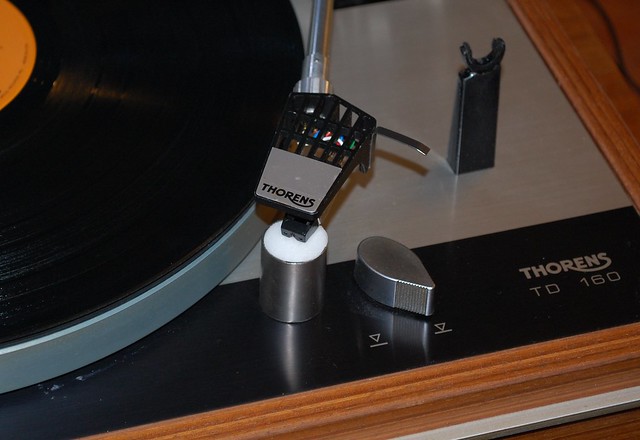
Oh, yeah I was going to mention the Magic Eraser. This little thing is a minor abrasive based on melamine I think, that can be used for all kinds of things. How it is used to clean a stylus is simply by lowering the needle into a block of the white stuff a few times, preferably using the cuing lever. The lint and other accumulated crap is removed by the minute pressure of the tonearm tracking force.
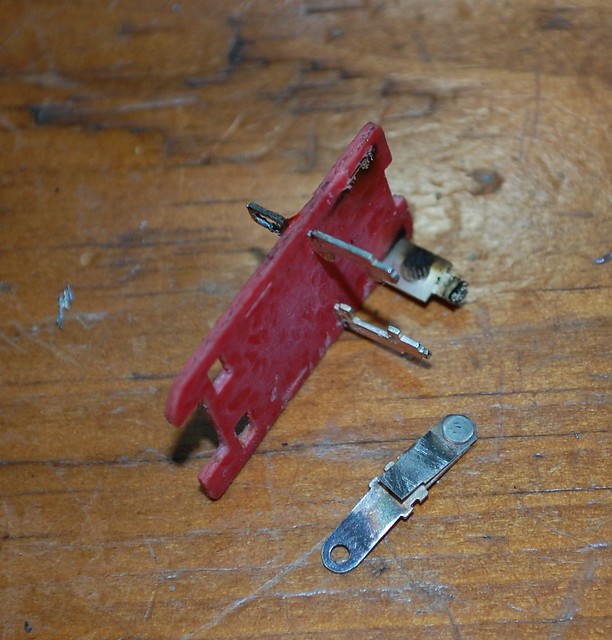
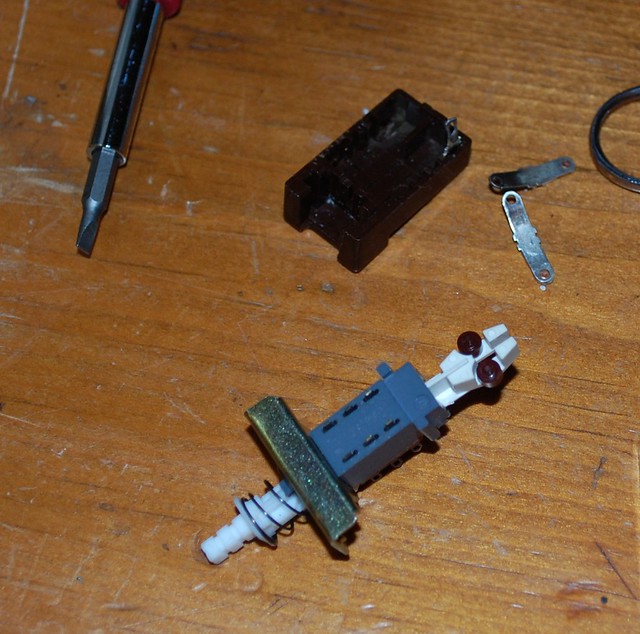
You can use a small block of the Magic Eraser that you cut off the store-bought size, or do as I did and make a neat little holder for it such as in the above picture. The metal cylinder is a piece of titanium tube that I cut off the end of an old handlebar years ago. The tube is just sharp enough to make it's own cookie cutter stamp right through the Magic Eraser. Below is another block I made from part of a light fixture.
But you don't need to do anything special; I was just having fun with it!

I really try to avoid badly scratched records, in fact I pretty much always avoid those. I can live with a few minor ones and will consider ones that are worse if it is a rare or unusual record and the price is right...like free.
Anyway, I can't stand damaged or dirty records and I have a few ways that I can deal with that. My day to day arsenal is below:
From left to right in order of how frequently I use it:
- Decca Carbon Fibre brush. I use this virtually every time I play a side, brushing it off each time. The one you see I have had for over 20 years and it still works well.
- Magic Eraser. Say what? Yes Magic Eraser. It works well at removing accumulated lint etc. from the stylus. The piece you see here is inside a piece of titanium tubing I left over from my bike shop days. More on that later...
- Discwasher brush with D4 fluid. I will use this on records that may be a bit dirtier in appearance but I don't think a bath is in order or I want to play it right away.
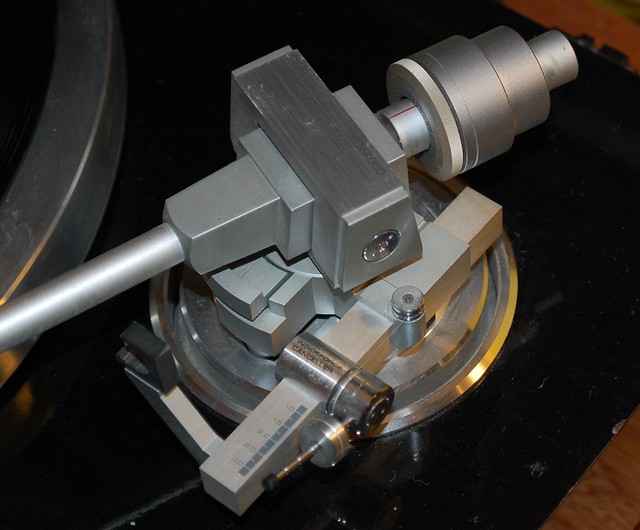
- Discwasher Stylus brush and SC-2 fluid. This is more effective in some ways than the Magic Eraser but is bit less convenient. The other side of the brush is a convex mirror for inspecting the stylus but I never use it.
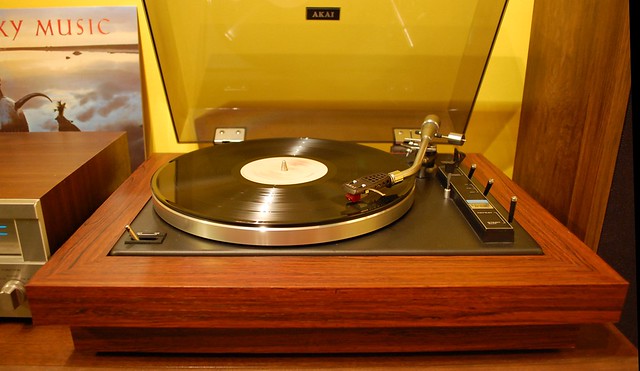
The records that I buy new rarely need more than these tools as I take good care of them. The cheap finds though often need a good bath.
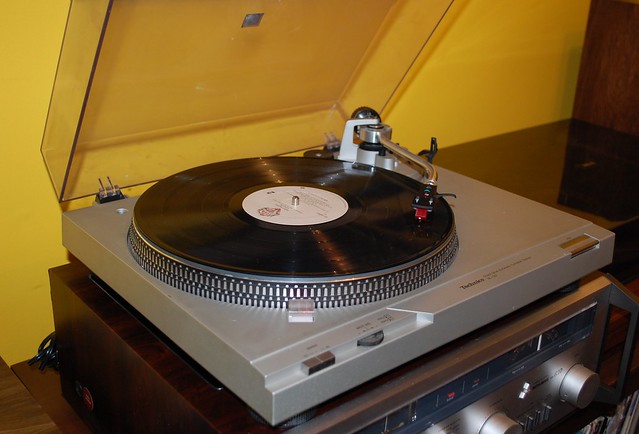
For this I have a SpinClean which works well when I have a large batch to do. It will work for 25 to 50 records on one fill, and can sit for several days or a week if I don't have that many to do at once, or much time.
http://www.spincleanrecordwasher.com/
When I have just to a few to clean I have another technique. This involves a home brew mix of distilled water (90%), 99% isopropyl alcohol (10%) and a dish soap (a few drops). This goes in a spray bottle. I have another spray bottle with just distilled water in it for rinsing.
I lay a towel out on the counter top or my smooth top stove, and lay the dirty record on that. The one below is not that bad.
I give the record 5 or 6 squirts from the bottle, trying to avoid the label.
Now I take a paint pad, the kind you use for edges and corners, and use it in a circular motion to scrub the record using light pressure. The thousands of short bristles work well to work into the groves. I do this for 30 seconds or more, then flip the record and do the other side.
After washing I rinse under the tap in the kitchen sink. I have a water filter built in and there is little added to Vancouver water anyway, so I feel this is usually just fine. After rinsing both sides, I let the water run off and place the record upright in the dish drainer to dry. I will sometimes give them a wipe with a soft cloth, usually microfibre, to hasten the process.
Sometimes the label gets a bit wet, but I have not had one damaged by this yet. I know some people will make elaborate clamps to protect the label, but so far I don't see the need.
There are also those that will use devices that cost hundreds of dollars to do much the same as I do, including motorized and suction devices to pull away the washing liquid. However I can't justify that expense and feel that my method works well enough and is far superior to doing nothing or some simple "spread the dirt around" brushes that I see.
This won't take a really abused & scratched record and make it new again, but it will help with dusty, mildewed and finger print covered vinyl. I can see and hear dramatic improvements in the records I clean with my simple methods that anyone can do for a very small outlay in money and time. Not counting the Spin Clean (which cost me about $70 on sale), the paint pad method described above should cost only about $10 to 20 for the fluid, brush, and the cloth to dry the records and be enough to do many records.
Oh, yeah I was going to mention the Magic Eraser. This little thing is a minor abrasive based on melamine I think, that can be used for all kinds of things. How it is used to clean a stylus is simply by lowering the needle into a block of the white stuff a few times, preferably using the cuing lever. The lint and other accumulated crap is removed by the minute pressure of the tonearm tracking force.
You can use a small block of the Magic Eraser that you cut off the store-bought size, or do as I did and make a neat little holder for it such as in the above picture. The metal cylinder is a piece of titanium tube that I cut off the end of an old handlebar years ago. The tube is just sharp enough to make it's own cookie cutter stamp right through the Magic Eraser. Below is another block I made from part of a light fixture.
But you don't need to do anything special; I was just having fun with it!